Headed off at the pass...
As I mentioned before, we put my poor, unsuspecting dad to work on the house this weekend making door headers. I didn't realize how detailed the process to make them was, so I took pictures for all of you that might be able to benefit from the experience. However, if you're framing in a room with a low ceiling, make sure that you double check all of your measurements before you start the headers.
Materials list
2x10 (or whatever you plan to use-- enough for both sides)
3/8" plywood, cut with circular saw or table saw to same width as 2x10
1x4 (enough for both sides)
nails
wood glue
Cut all the wood to the desired lengths for your door header.
Repeat for all the headers that you plan to make.
Stack all of the parts together for each door.
Then move on to assembly.
First, put wood glue on one side of both of the 2x10s
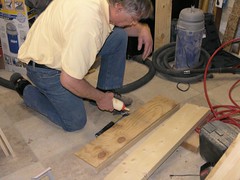
Next, make a plywood sandwich with the two pieces of 2x10 on the outside, the plywood on the inside.
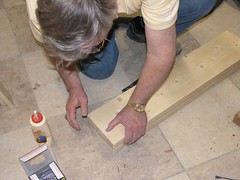
Line everything up as carefully as possible, and then nail (we were out of framing nails, and used finishing nails instead) opposite corners to secure the header together while you continue assembly.
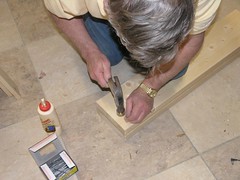
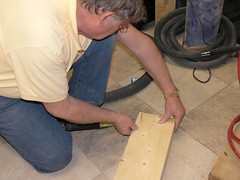
Turn the partially assembled header up on one side, and apply glue to the side. You can use a hand plane to smooth it out first if it's really irregular at this point. (We didn't have a plane, so that wasn't a possiblity for us.)
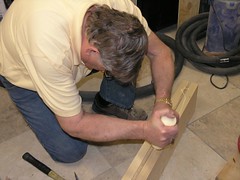
Next, apply the piece of 1x4 that you cut to the header.
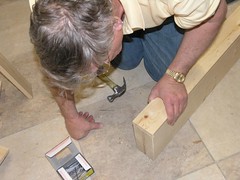
And secure with a couple of nails at either end
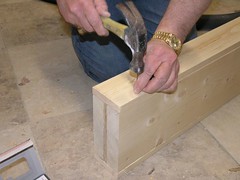
and repeat for the other side...
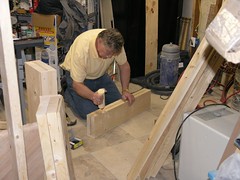
I didn't get pictures, but we drove about 8 nails through each face and 4 nails on the top and bottom of each header with the nail gun to finish it up, and- Voila! Completed header!
Next, cut studs to fit under the header and on top of the bottom plate. We checked to make sure that the header would fit, then secured these on both sides with a few nails. Then, we lifted the header into place. The fit was a little snug, and it required a little persuasion to get into place. Then, we got as many nails in the structure with the nail gun as possible. We still need to buy some more nails and hand toenail the top on both sides. But, one header is done! Thanks, dad!
Oh, and Aaron's latest post is up at Toolspotting. It's a review of the miter saw cart that he's been using for several months now.


<< Home