Nip/Tuck I
I've been working hard on tuckpointing the brick walls in the bathroom. As promised, I'll be posting an informative series on tuckpointing and preserving interior brick walls for display.
Step 1: Evaluation and Cleanup
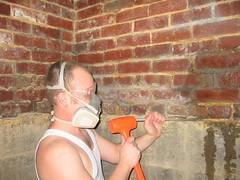
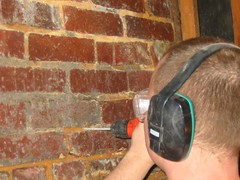
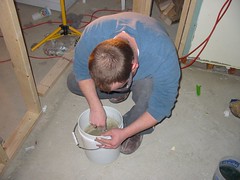
The first thing that you need to do is check the walls for major damage (missing or badly damaged bricks) and the condition of the mortar. Whatever mixture of mortar they used in 1915 on our house has basically deteriorated to sand. So, our usual protocol involves cleaning all the old sand out of the spaces between the bricks. I have mild asthma and the dust and dirt from tuckpointing really bother me, so I usually wear my respirator during this stage. I start by brushing or vacuuming the dirt and loose mortar off of the wall:
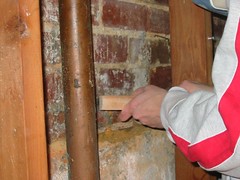
If you can't get the mortar off this way, then you can use a hammer and chisel, or a drill with a masonry bit to remove stubborn mortar that you want to replace. I usually would rather leave it alone if it's in good condition. However,if you want all of the mortar to match, or you suspect that it's not as solid as you think, these techniques more useful.

Step 2: Mortar selection
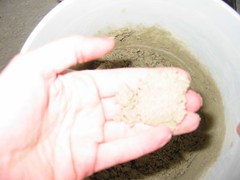
There is a wealth of information on the internet regarding mortar selection. Generally, you should remember that old bricks are very soft, and if your mortar is harder than your bricks, it will cause your bricks to crack. From what we've read, for our soft bricks, we need type "O" mortar, but we were unable to get that in Frederick, so we're using type "N" and hoping for the best. Since we're doing small repairs, we bought 1 bag of mortar and 1 bag of sand. We mix at 1 part mortar to 3 parts sand. I like the mortar a little wetter than Aaron likes to mix it, but either way, here is a picture of what our mix looks like (sorry too bright).
3. Actual techniques.
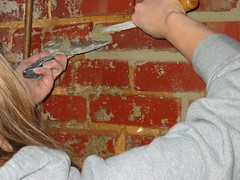
a. Spray with wall with water. I just use a small spray bottle for this, and I continue to mist the wall as I work.
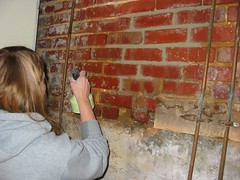
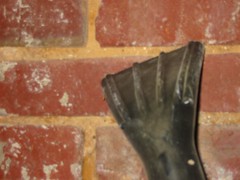
b. I like to get some mortar on a large putty knife, and then use my narrow brick spatula thingie (sorry not more technical) to push it into the horizontal joint off of the putty knife. This reduces waste and increases efficiency.
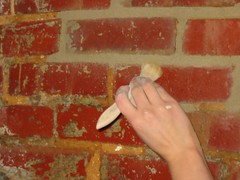
I use a similiar technique for vertical joints.
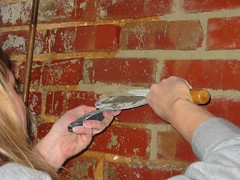
c. Then I use a stippling technique and a large brush to remove the excess, push the mortar further into the joint (sometimes I need to apply more), and leave a nice finished surface. You may need to use a strike or other tool to match the finish of the surrounding bricks. Since I was doing almost the whole wall, I went with this method for everything. Outside, I used a strike to match the finish on the surrounding bricks.

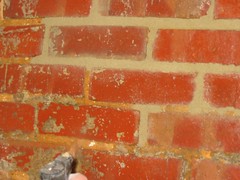
d. Next, I use a smaller brush to remove some excess mortar from the edges of the bricks (they seem to get covered up easily, especially when I do vertical tucking.
e. Finally, I mist the wall again. I continue to mist it over the next few days to slow the cure of the mortar. This may not do anything, it was just how I was taught.
Next time, I'll show final cleaning of the bricks, replacing a brick, and how to apply a clear coating to an interior brick wall so that it can be left exposed.
posted by amanda @ 11:35 AM
![]()


<< Home