Rot Repair
Well, Blogger ate this the first time, and it took me awhile to bring myself to rewrite it. Please bear with me, it was really witty the first time I wrote it!
After we got the porch stripped and sanded, it was time to address the rot issue that got us in this predicament in the first place. Aaron started by removing the trim to get to the rotten boards, using various tools of destruction including hammers and pry bars of various sizes. He also ended up needing several cans of wasp spray, as several of the little buggers didn't like being so rudely evicted from their nice cozy home in our eaves. I managed to avoid their stings, but Aaron wasn't so lucky. Good thing he's not allergic to bee stings!
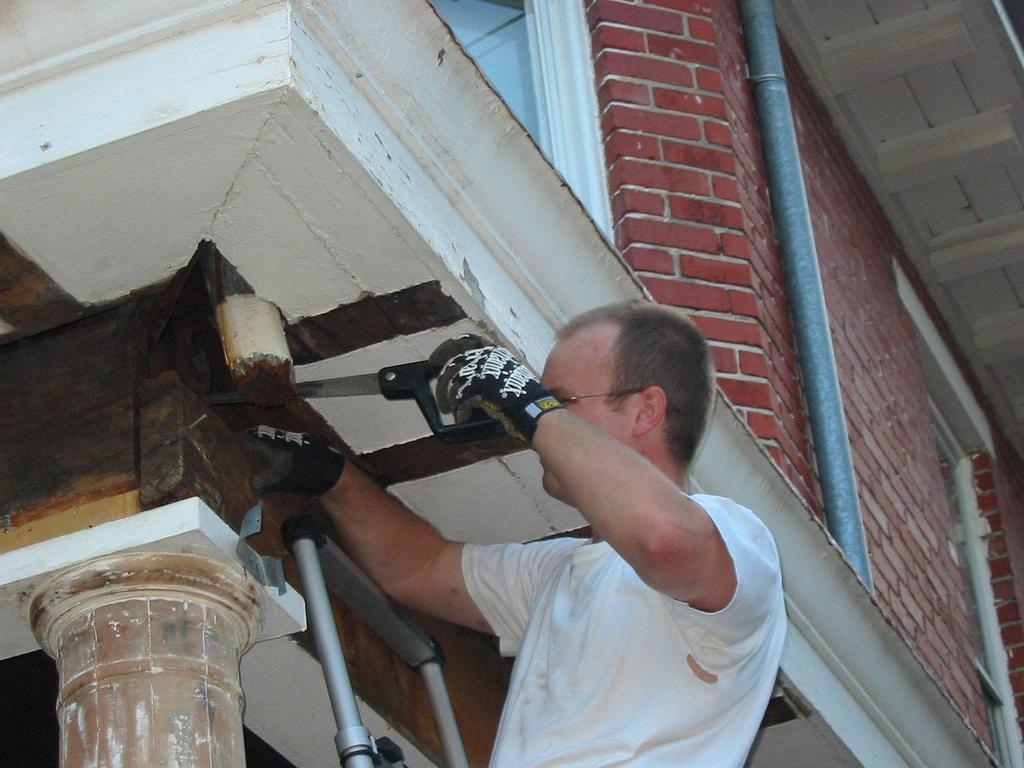
Here is Aaron prying off an area of the trim to get at the rot. (above)
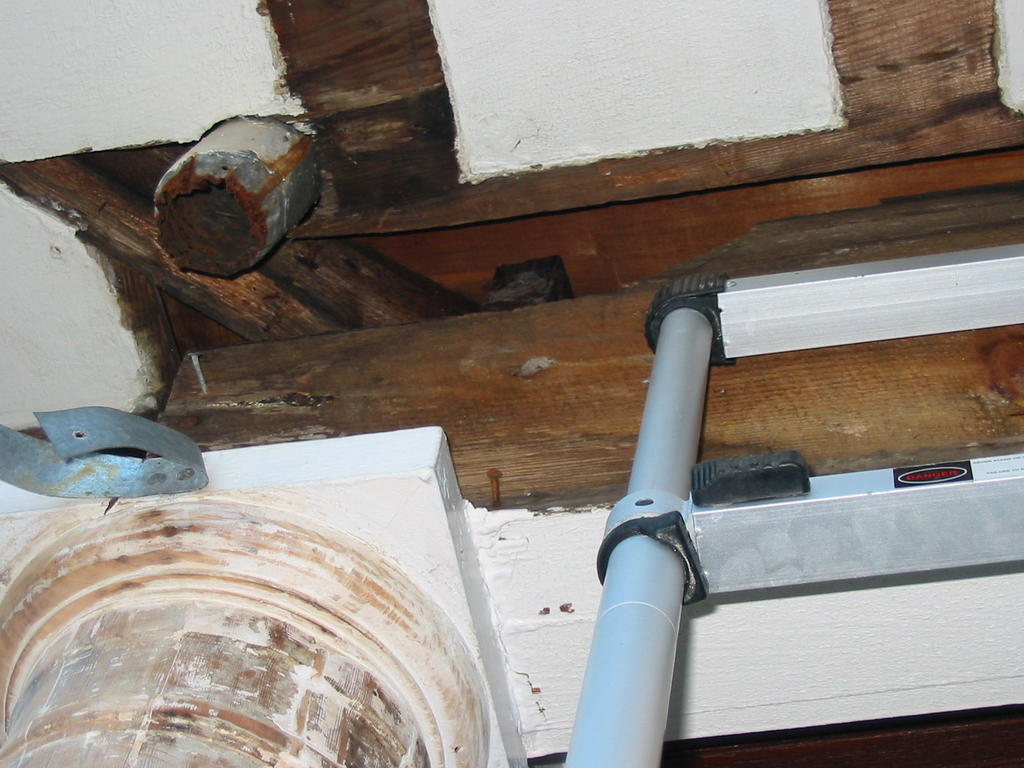 After we got the boards off, it turns out that there was quite a bit more rot than we had initially realized. This picture, taken from the ground looking up shows the giant gaping hole where Aaron removed rotten wood.
 Aaron wasn't quite sure how to address the extensive rot to our big oak porch roof support beam, but with a little help from our friendly housebloggers, especially Bill at Enon Hall, and a trip to a Woodcraft, cool woodworking shop in Towson, MD, Aaron was able to devise a plan. Here he is with a new piece of wood to patch the rotten area in the support beam. He used wood glue and lots of crinkly fastners and nails to attach it to the beam.
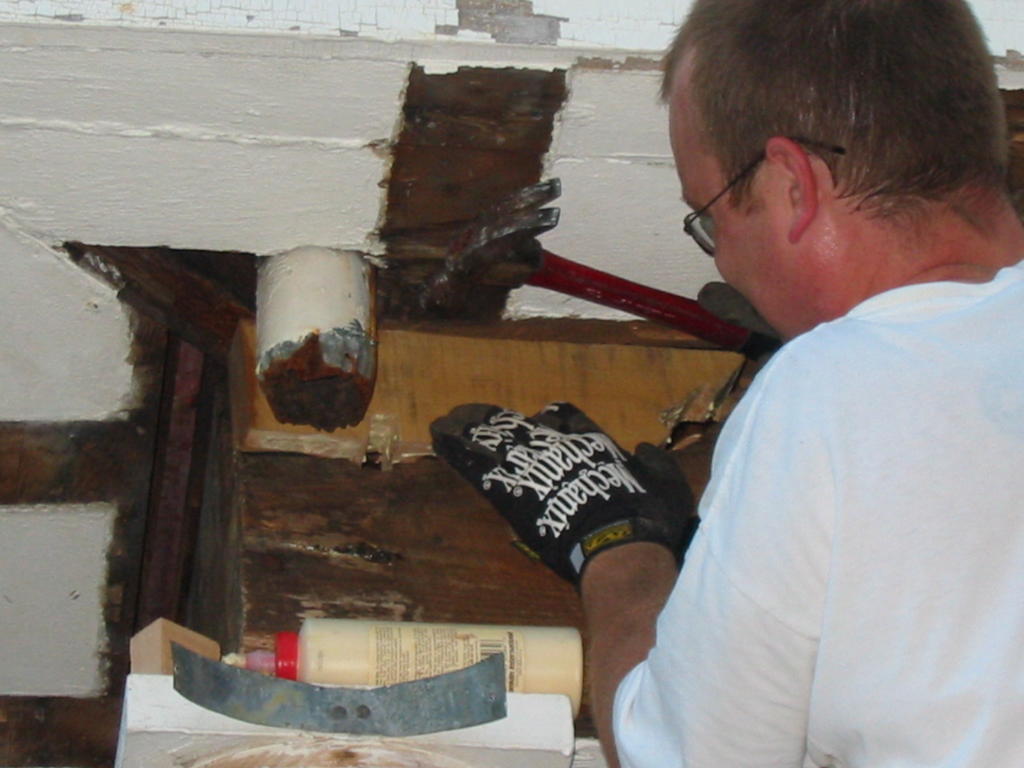
Aaron thinks that the fix is really ugly and while he feels that it's extremely sturdy, he worries about the next owner seeing it 90 years from now. Hopefully, it's sturdy enough, and the new gutters that we're getting work well enough that no one will ever have to see it again!
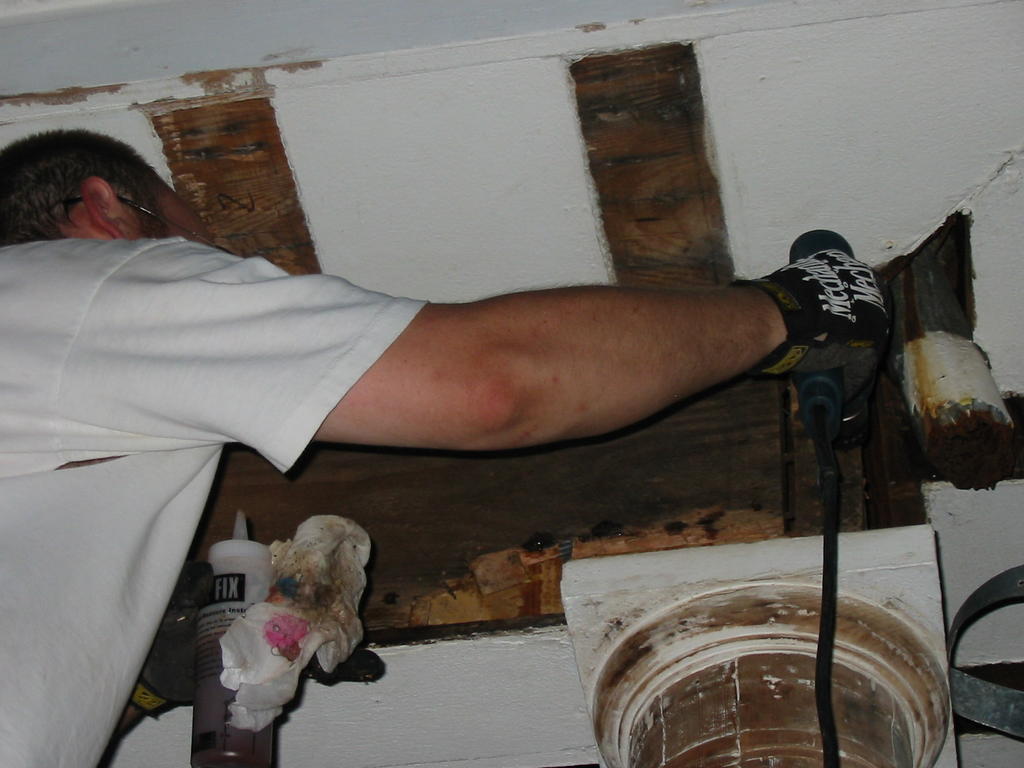 Aaron stabilized everything with our good friend Rot Fix, which was rather runny and messy. I'm a polymer scientist by trade, and Aaron is a chemical engineer, so you'd think that we would be able to come up with a better application method, (or a better product) but you'd be wrong. Anyway, he ended up drilling some small holes and injecting the Rot Fix into the wood with a syringe and needle. Hopefully that will stabilize everything. He filled everything that needed it with Sculpwood and sanded it smooth.
 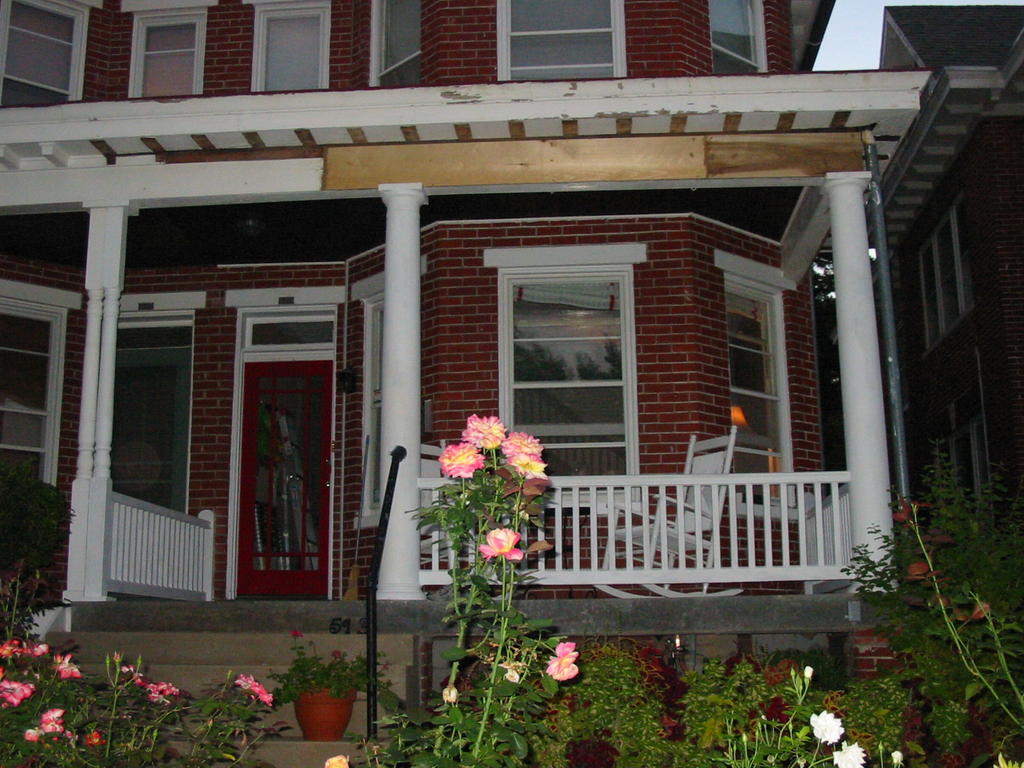 Aaron finished up by cutting new trim boards and nailing them into place. He had a lot of trouble getting things to fit, due to warping in the boards themselves, and in trying to measure big pieces single-handedly on a ladder while I was at work. He finally gave up on mitered joints and just did a regular end-exposed (what the technical word for that?) joint. We then primed the rest of the porch. It looks so much better even to be at this stage, I just don't even know how to describe it. Maybe by the block party Sept 24th, we'll have this project completed! That's our goal, anyway!
We were able to pick up the new dental mold pieces from Ingalls on Monday afternoon (over $100 just in lumber, but it's nice fragrant cedar), and stocked up on their 25% off tool sale while we were there, getting Aaron a new cordless drill (our poor Dewalt's battery is in such bad shape that you can drive about 2 screws before it dies on us, it was just time for a new one), a grinder, which he has been hinting about for awhile now, and a Sawzall, which will come in handy for our basement remodel and eventual back porch demolition.
Monday afternoon, we got the lattice frame built and lattice attached for the front side of the porch. Hopefully, we'll get some work done on the lattice frame for the other side of the porch, too. We ended up using the white vinyl small hole privacy lattice with white vinyl frame that they sell at Home Depot. We both agreed that regular wood lattice looks much better, but couldn't seem to agree on which one of us would paint the wood lattice every year or so. The best compromise was the vinyl, although we try hard not to use too many plastic products on our house. We can get away with saying we wanted the two sides of the house to match, as it's the same stuff our neighbor used.
As for the column base, you may remember that I posted about needed to replace one of the rotten column bases here last month. We've been looking that whole time, even looking at special order options (all of which seem to be that plastic stuff) but we cannot find anything that comes in the dimensions that we need. We're really limited b/c we cannot trim the columns at all due to where the porch rails come up to meet them, and most of the bases are 5" or more tall. We need a base that's 4" tall. I suppose we could raise everything an inch and trim off the tops of the columns, but I'd like to see if we can do anything with the column base we've got before we go to that extreme. I think that it might be hard to get everything to look nice and level again, and we've been to a lot of trouble to strip and sand all of this stuff.
One last thing... I'm thinking of painting just the hand rail of the porch a nice taupey-beige, and then of course, everything else white. Several of my neighbors did this, and it looks nice. However, the other half of the house has an all-white porch. Do you think that would look bad? I thought that it would look nice with the red front door. Please comment if you have an opinion!
posted by amanda @ 9:32 PM
![]()


<< Home