The Exterior Paint Stripping Experience
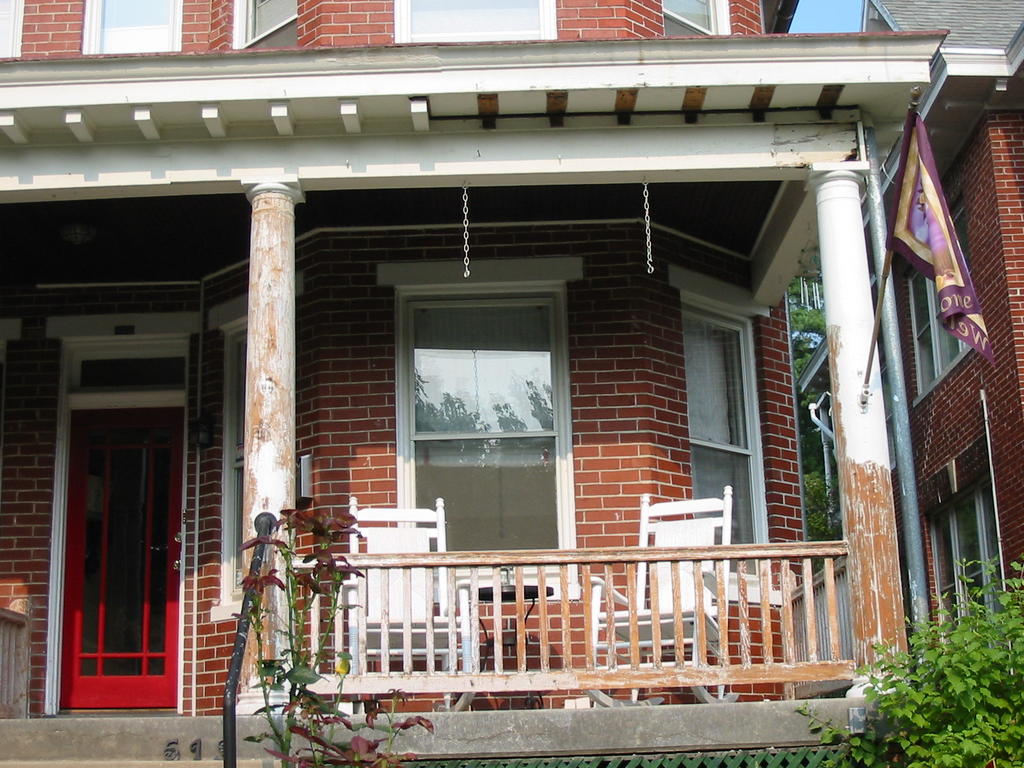
I have seen a lot of posts about interior paint stripping to expose stained wood trim using a heat gun, chemical methods, or the various infrared heat gun methods. I have not seen any posts on stripping exterior paint, such as on porch posts and rails. Please allow me to give you a little background as to how we got ourselves into this project. As usual, it all started with something relatively simple. Aaron noticed that water was pooling on top of our front porch roof and surmised that the gutter must be clogged. He borrowed a ladder from a neighbor and disconnected the gutter external part of the gutter and used a hose to flush out the internal gutter segment to remove the clog, which all worked quite well. While he was up there, he started poking around at the trim around the porch. He very quickly realized that problems with the gutter have probably plagued the house for some time, and it appeared that the years of water had started us out on a nice case of rot, which a PO had fixed by nailing a board over the rotten area of the porch trim. Aaron removed the board, and found that the wood was dry, but very, very soft. Our neighbor suggested that if we were going to have to replace the trim on the corner, we should consider stripping off the approx. 1/4" thick paint caked on the porch while we were at it. He and his wife and done this about 5 years ago, using heat guns and scraping very, very carefully. We decided to undertake the project (The ugly porch paint had also been bothering me since we had moved in, so I jumped on rather naively.) and went to Home Depot and purchased two heat guns, both Milwaulkee brand, and a bunch of scrapers, along with some respirators to protect ourselves from the certainty of lead paint. After about a month of extruciately hot, slow progress, another neighbor suggested that we switch to a blowtorch. We asked around, and while this is a dangerous method, it is much faster than the heat gun. Keep a garden hose handy and don't torch any area that you know may have dry rot. We don't accept any responsibility for anything that you choose to do on your own. This is simply presented here to relate our experience and hopefully help you out. I don't have much in the way of before pics, but this is a middle of the project shot-
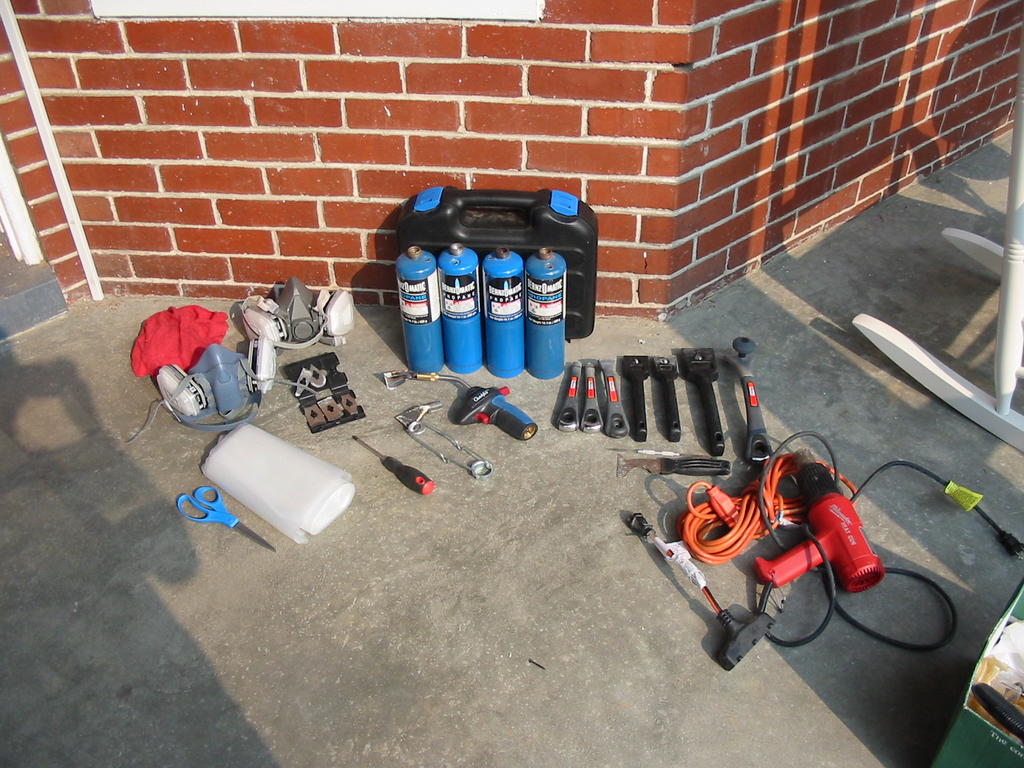
 Here is a shot of our work prep. area, where I assembled the following-
Respirators, propane, propane torch with fan attachment, assorted scrapers, torch lighter, scissors, plastic (to protect work area), extension cords, heat gun (I still use the heat gun b/c I'm scared of the torch), and a screwdriver (to change blades on the scraper). Not shown- garden hose or fire extinguisher.
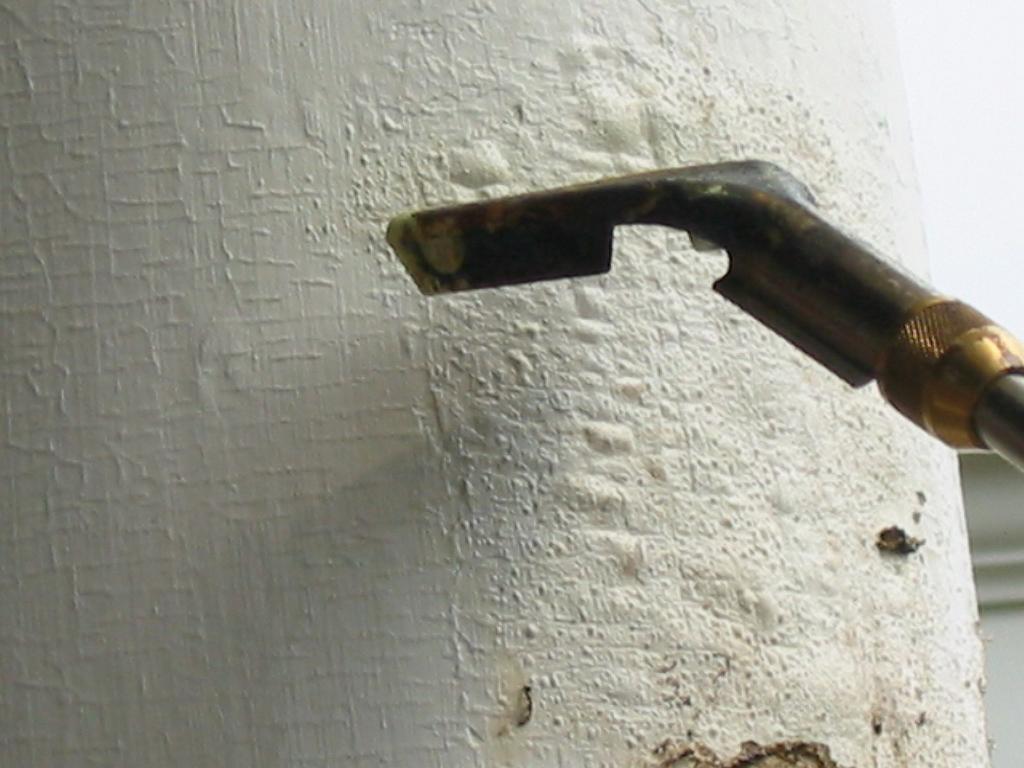
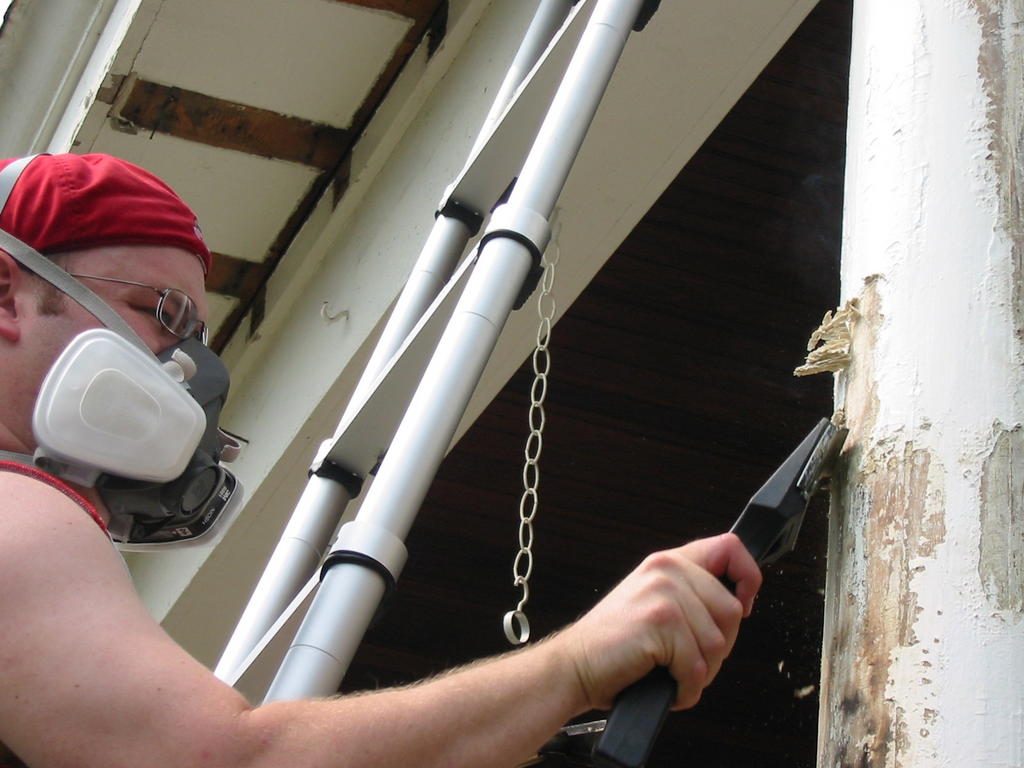
Basically, you use the torch just like the heat gun, aiming it at the area of paint that you desire to strip, keeping it moving all the time, and stopping when the paint starts to bubble and get toasty, as shown below. If you see smoke, stop!
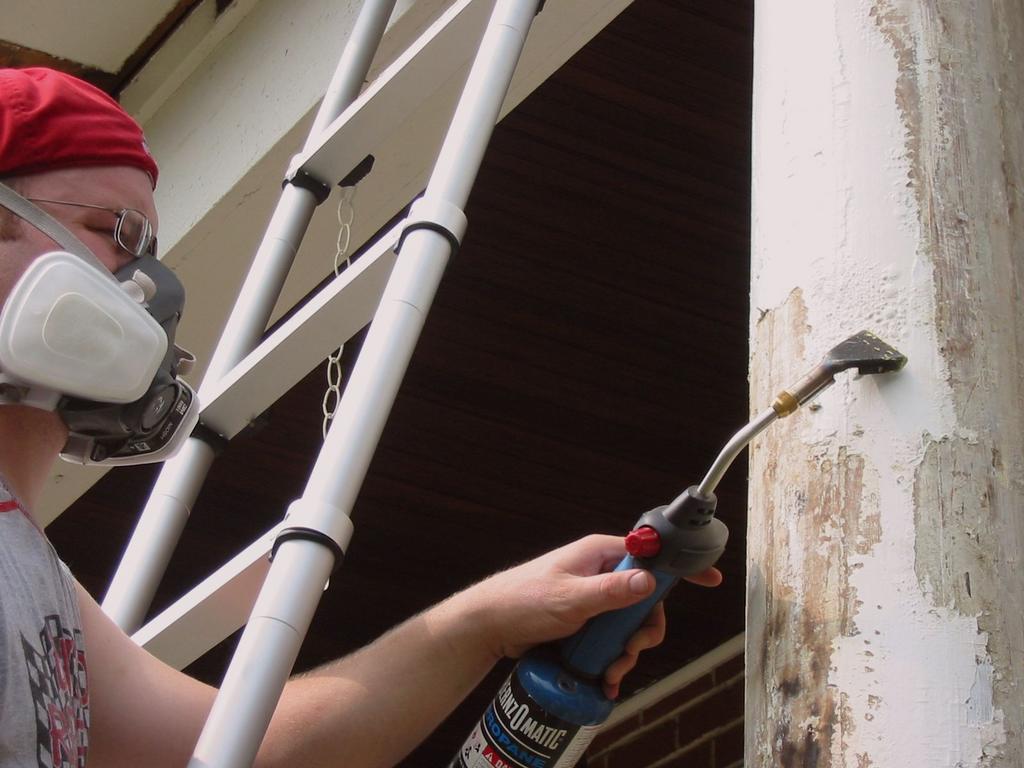
 Aaron demonstrates this technique from a different angle. You can use your left hand to hold the torch and your right hand to scrape if you're really efficient.
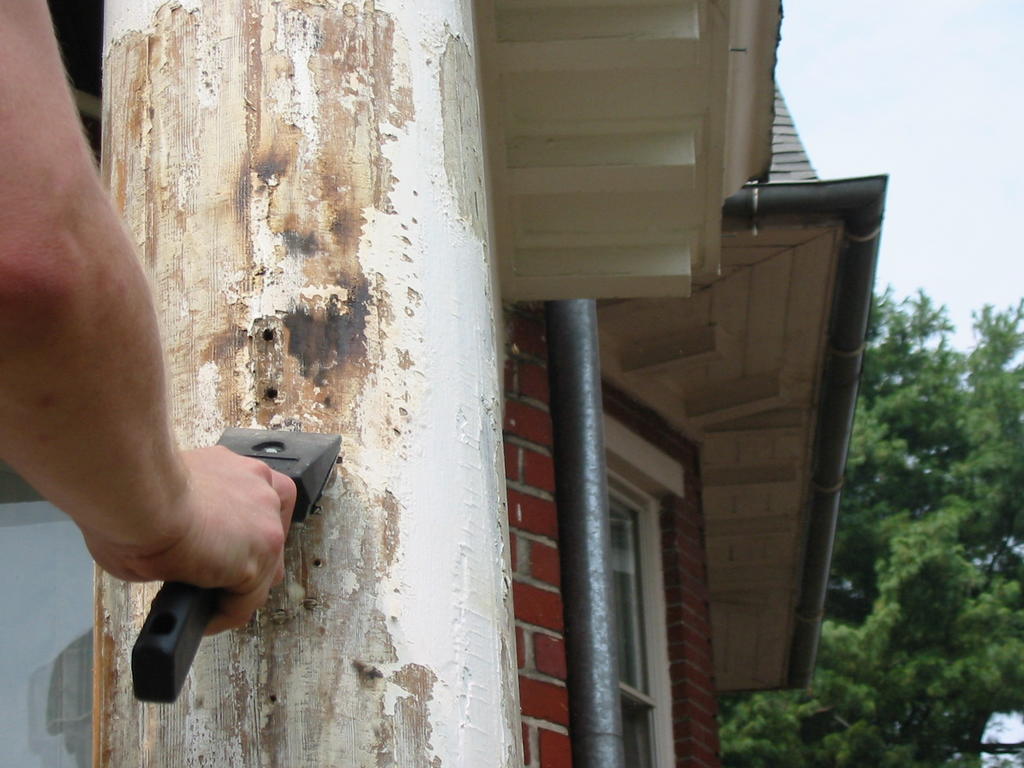
 Scraping (see how thick that paint was?) as with anything else, you have to be careful not to gouge the wood. The more paint that you get off, the better. We took most of the porch back to bare wood. The primer used in 1915 is like Play-Doh when it gets hot, and it sticks like white on rice. We were unable to remove ALL of the primer from the wood, but we got a lot of it.
This technique can leave some char on the wood. This char must be sanded or scraped off or paint will not adhere to your new porch and you will have to start back over. We found out mid-project that our neighbors who suggested this project actually had this situation when they moved in, and were only stripping off the two layers of paint that were put back on the porch after their POs torched and scraped the porch.
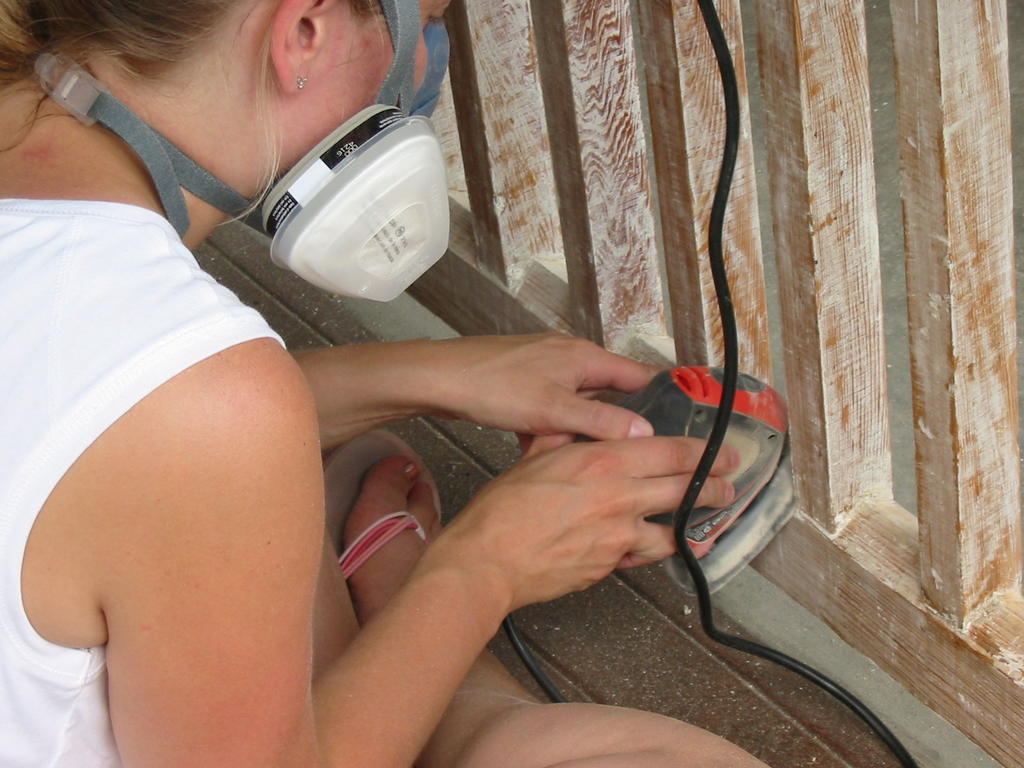
 I used a Black and Decker mouse sander, regular sandpaper, and a Ryobi detail sander to get in all the little crevices, especially in the porch railing. I used medium grit sandpaper in all instances. Aaron used our large Porter Cable random orbital sander with 60 grit sandpaper on the columns and flat areas of the porch trim. A different neighbor is doing this to his back porch, and he actually disassembled the railings to make stripping and sanding them easier.
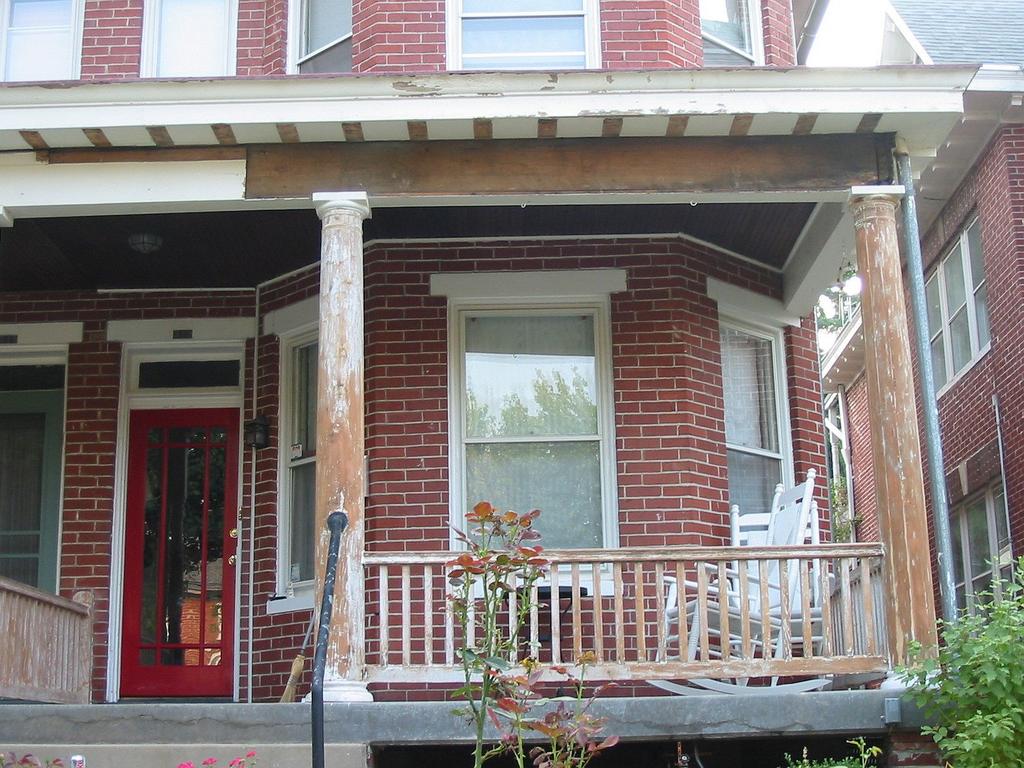
 Here is the porch after stripping, scraping, and sanding. You can see the water damage to the corner as a dark, discolored area in the photograph.
Coming up... attempting to fix the water damage.
posted by amanda @ 8:02 PM
![]()


<< Home